兼ねてより試してみたかった Gatsby.js + Vercel の組み合わせに着手してみました。
Gatsby.js のインストールと Gitリポジトリ の準備
まずは Gatsby.js のプロジェクトを作って Gitホスティングサービス に push します。
> yarn init

## 略

success Saved package.json
Done in 2.33s.
適当なディレクトリで package.json を生成。
> yarn add gatsby-cli

## 略

Done in 26.05s.
続いて gatsby-cli をインストールします。一応グローバルではなくローカルで。
今回のテーマはこれにします。
> gatsby new mptotkb https://github.com/renyuanz/leonids
╔════════════════════════════════════════════════════════════════════════╗
║                                                                        ║
║   Gatsby collects anonymous usage analytics                            ║
║   to help improve Gatsby for all users.                                ║
║                                                                        ║
║   If you'd like to opt-out, you can use `gatsby telemetry --disable`   ║
║   To learn more, checkout https://gatsby.dev/telemetry                 ║
║                                                                        ║
╚════════════════════════════════════════════════════════════════════════╝
info Creating new site from git: https://github.com/renyuanz/leonids.git

Cloning into 'mptotkb'...
remote: Enumerating objects: 60, done.
remote: Counting objects: 100% (60/60), done.
remote: Compressing objects: 100% (44/44), done.
Receiving objects: 100% (60/60), 542.69 KiB | 5.32 MiB/s, done.eceiving objects: 100% (60/60)

success Created starter directory layout
info Installing packages...
info Preferred package manager set to "npm"

## 略

Your new Gatsby site has been successfully bootstrapped. Start developing it by running:

  cd mptotkb
  gatsby develop
プロジェクト作成完了。
> cd mptotkb
> gatsby develop
## 略
info
Hi from the Gatsby maintainers! Based on what we see in your site, these coming
features may help you. All of these can be enabled within gatsby-config.js via
flags (samples below)
Preserve webpack's Cache (https://github.com/gatsbyjs/gatsby/discussions/28331), which changes Gatsby's cache clearing behavior to not clear webpack's
cache unless you run "gatsby clean" or delete the .cache folder manually.
Here's how to try it:
module.exports = {
flags: { PRESERVE_WEBPACK_CACHE: true },
plugins: [...]
}
⠀
You can now view gatsby-starter-leonids in the browser.
⠀
http://localhost:8000/
⠀
View GraphiQL, an in-browser IDE, to explore your site's data and schema
⠀
⠀
Note that the development build is not optimized.
To create a production build, use gatsby build
⠀
success Building development bundle - 48.261sOK。完了しました。
最初は手始めということでこの状態でいったん push しておきたいと思います。 Gitリポジトリ に登録するのは親ディレクトリではなく作成したプロジェクト (今回は mptotkb 下) です。
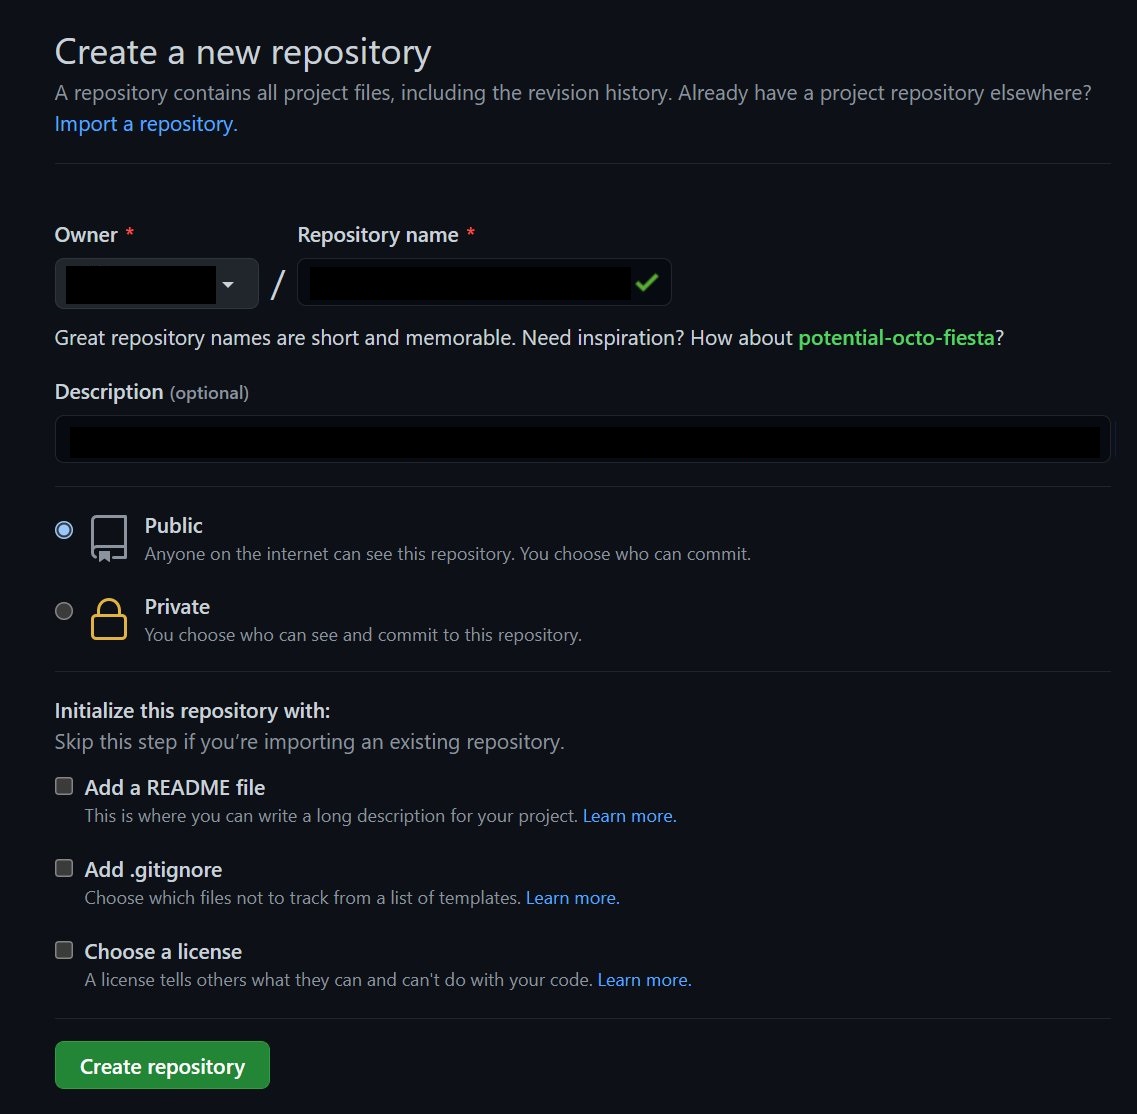
GitHub でリポジトリを作成して、このリポジトリに先ほどのプロジェクトを push 。ちなみにリポジトリは public である必要があります。
Vercel と Gitホスティングサービス の連携
次に Vercel でアカウントを作ります。

Sign Up をクリック。
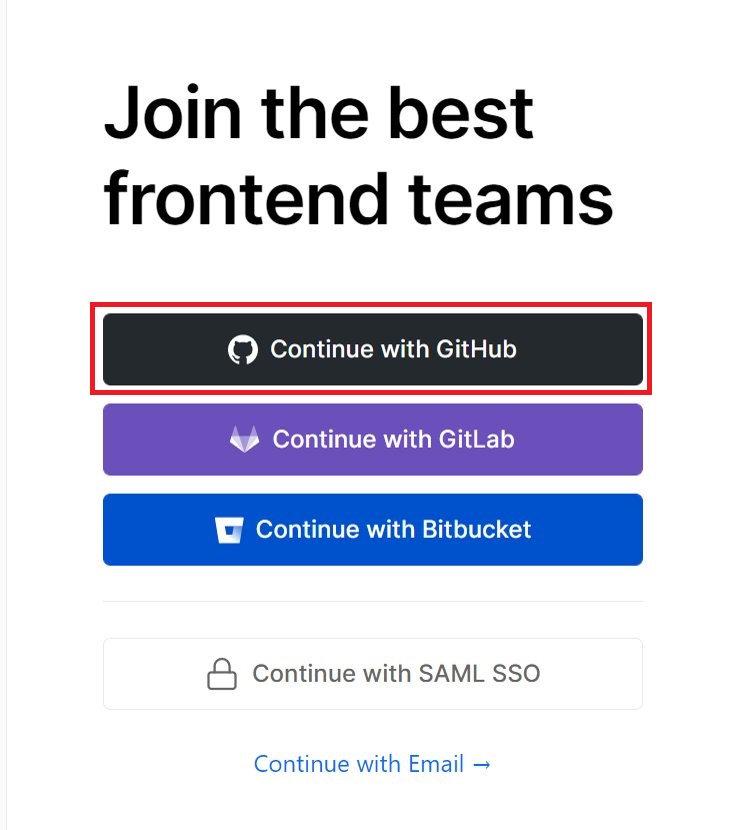
今回は GitHub を使用しているので「Continue with GitHub」を選択。
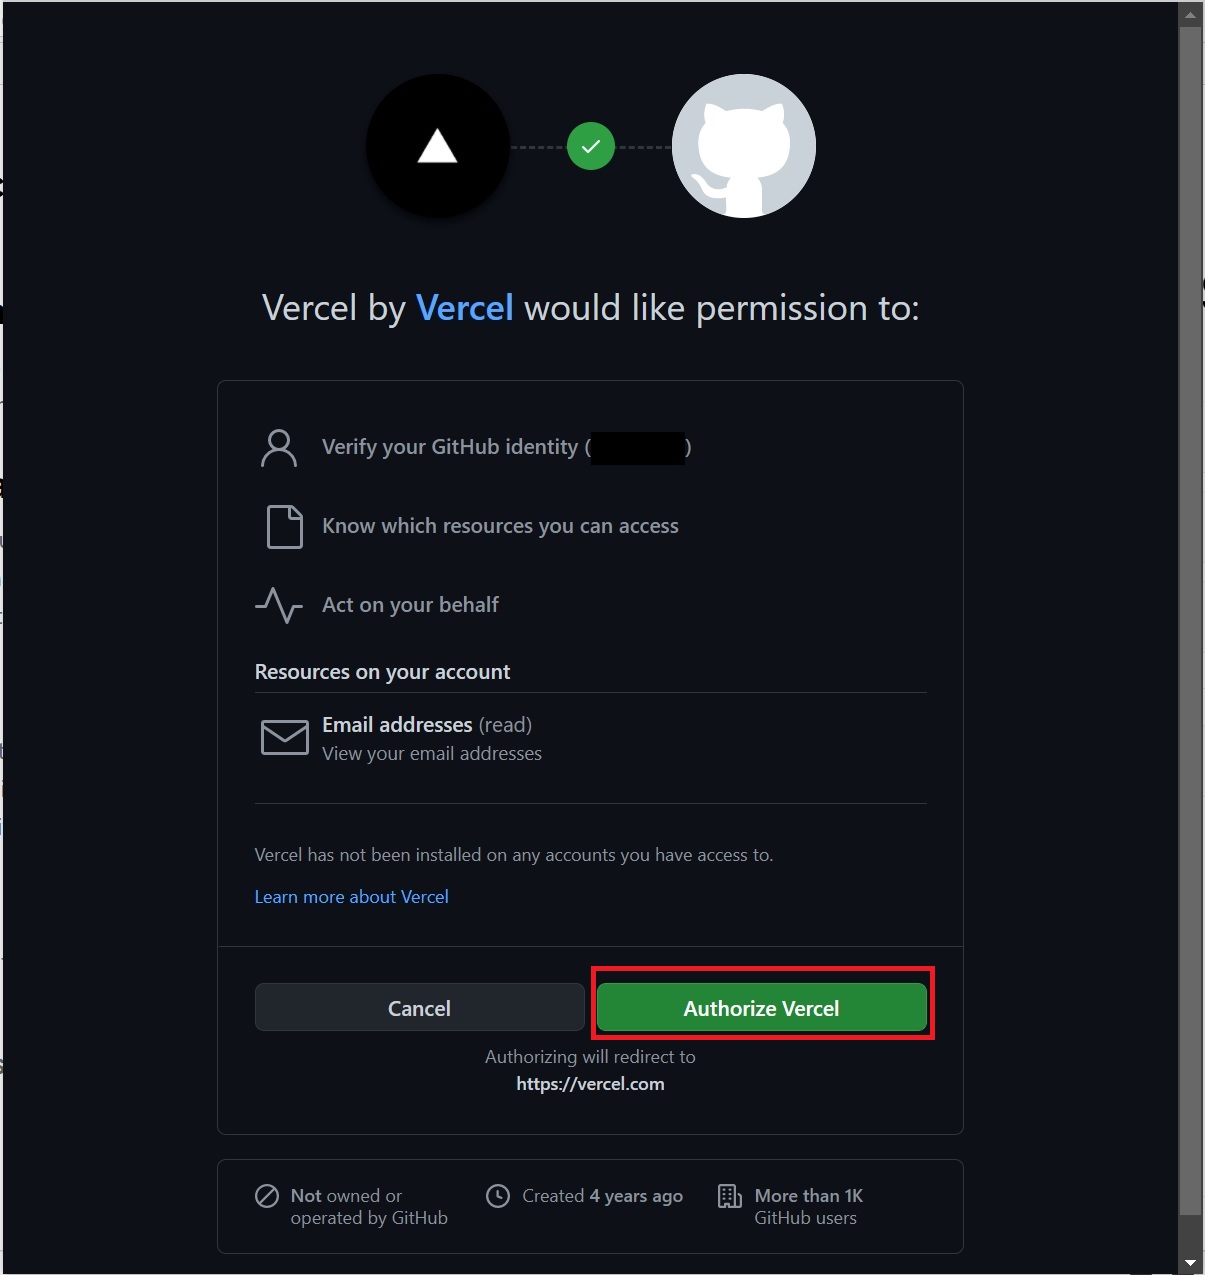
「Authorize Vercel」で Vercel のアクセスを認証します。
ログインできました。
リポジトリのインポート

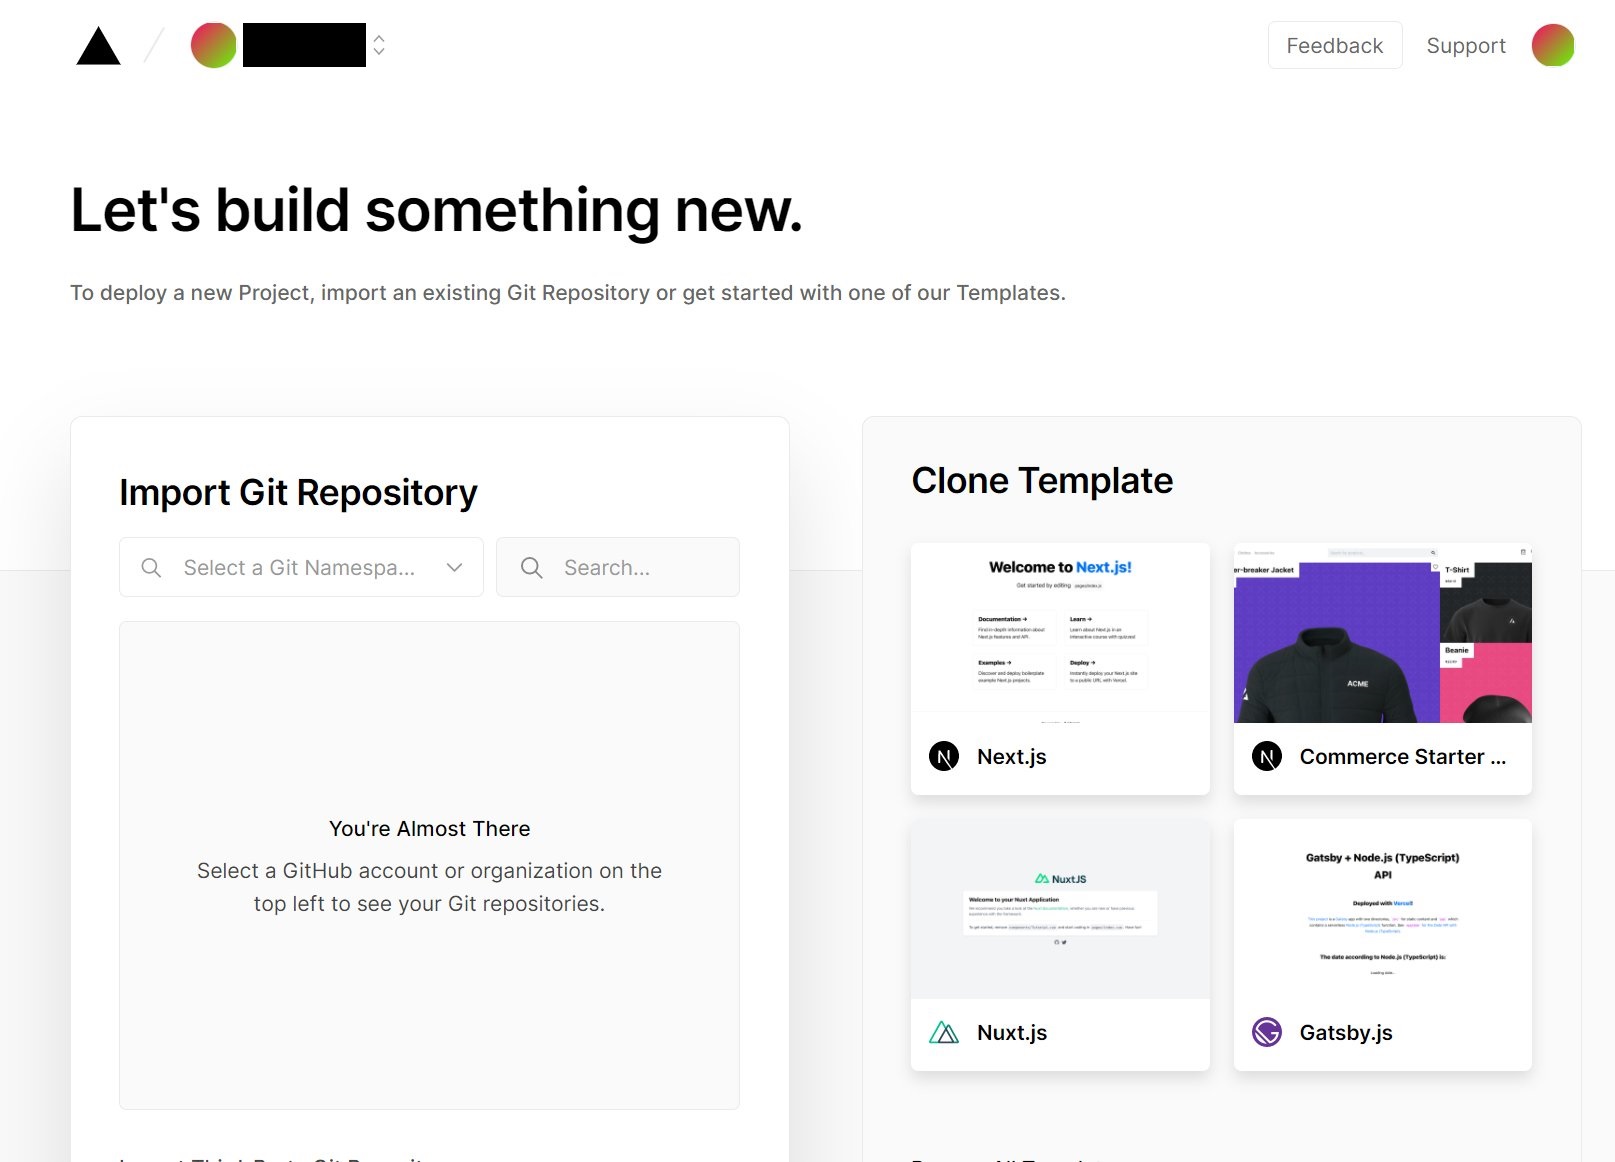
一度中断してしまったのでダッシュボードから。ここからであれば「New Project」で次へ進みます。
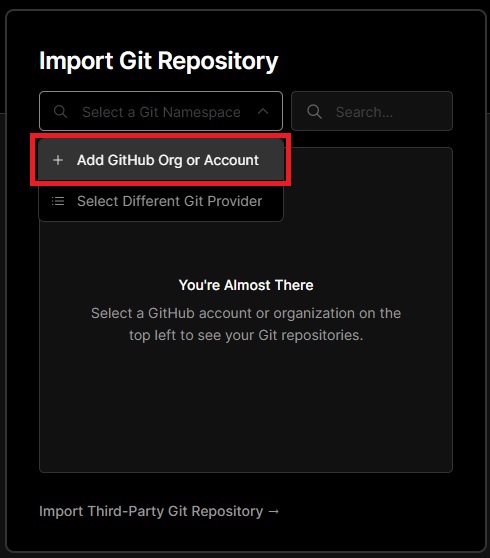
Import Git Repository から「Add GitHub Org or Account」。
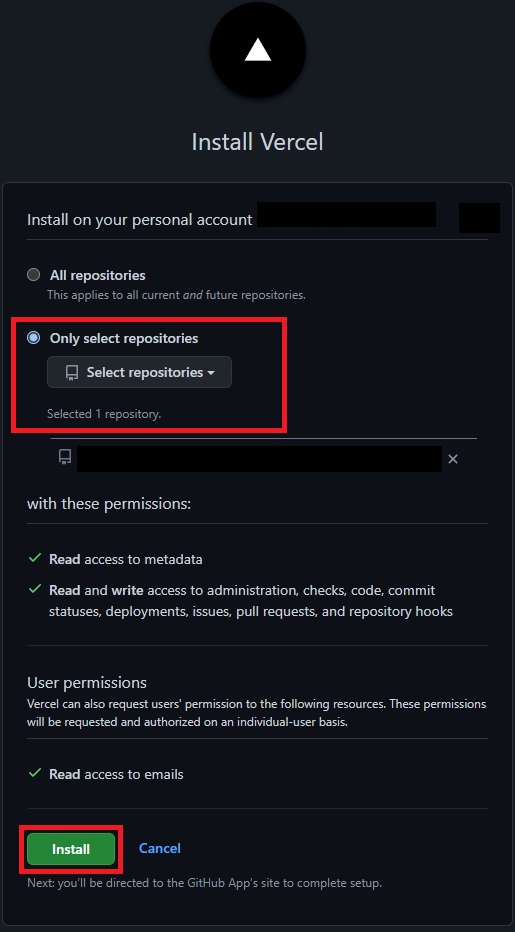
インポートするリポジトリを選択します。今回は1つのリポジトリだけに Vercel に連携させます。
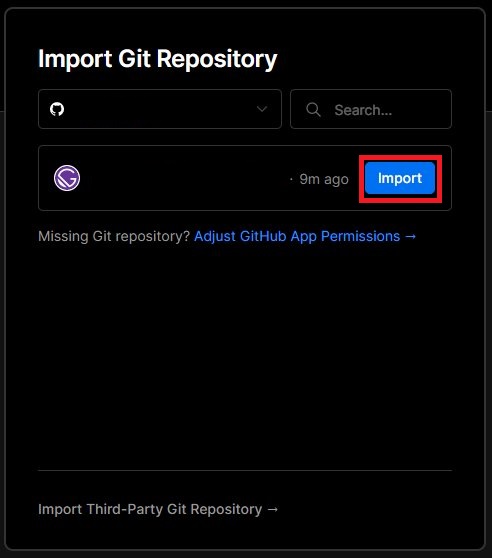
リポジトリの確認です。使用しているフレームワークが自動判別されるのはありがたいですね。
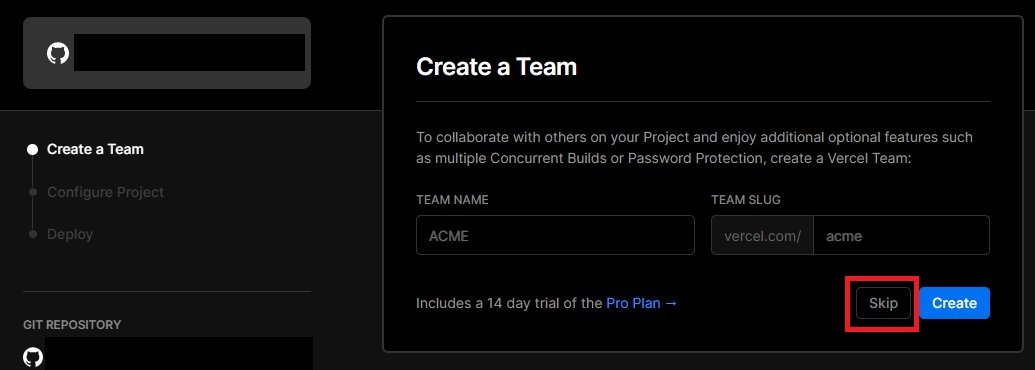
次の画面でフローに沿って設定を進めていきます。最初に Vercel のチームを作成する画面が有効になっていますが、今回は個人なので「Skip」。
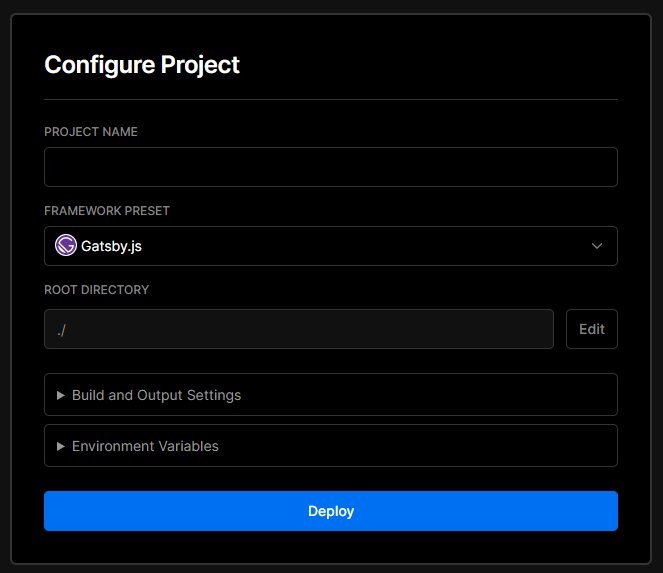
プロジェクトの設定。出力の設定や環境変数を設定できますが、今回はそのままで。
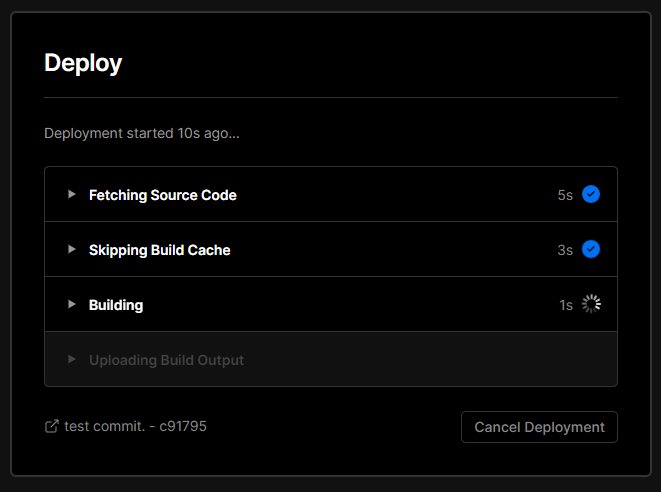
デプロイ中。
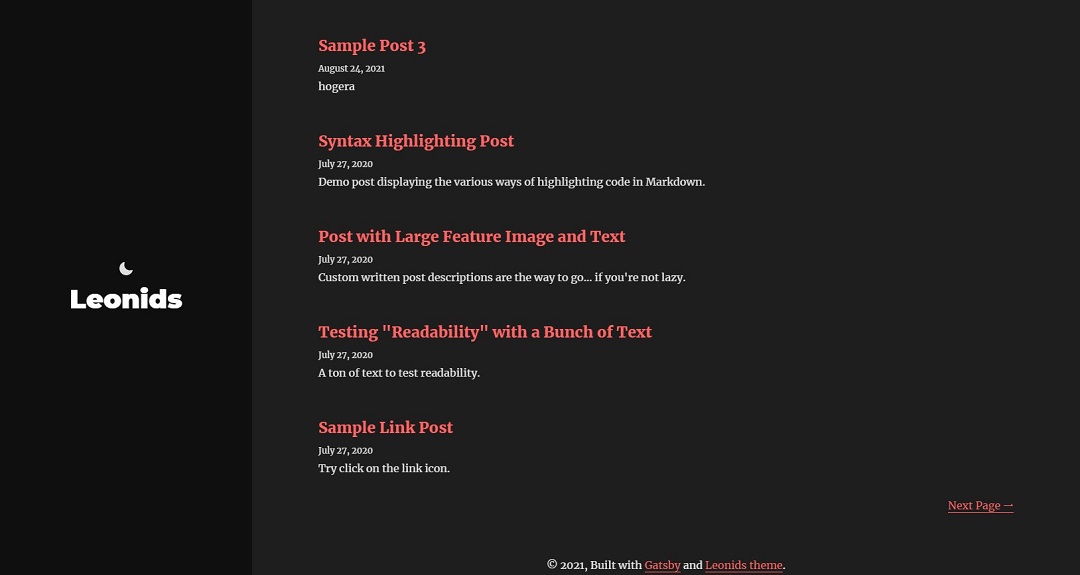
少し待つとデプロイが完了します。そこでURLから実際の画面を表示させると……きちんとデプロイされていました!
ここまでで Gatsby.js + Vercel でブログを作成することができました。
今後の課題としては以下の通り。
- サイト名や著者情報といった基本情報のカスタマイズ
- どうやらブログ記事の Markdown ファイルを生成する CLI やユーティリティはなさそうで、手作業で記事をちまちま作っていくのは手間なので記事リソースを別の場所 (Headless CMS とか) で管理して JAMStack にする
あとは折角なので GraphQL にも少しは触ってみたいところですね。
参考
Gatsby.js + Vercel
- 【ZEIT Now】Gatsbyサイトを無料サーバーVercelで公開する方法を徹底解説 | WebCraftLog
- Gatsby + microcms + Vercel でブログを作って公開したい
- Vercel – Git – Vercel Documentation
- 参考記事とは画面構成が変わっていたため、最終的には Vercel のドキュメントが頼りでした