一度は試してみたいと思っていた npmパッケージ の公開をやってみることにします。
パッケージの準備
今回はテストのため、事前に作ってあったconsole.log で画像を表示するプログラムで試すことにしてみます。
ちなみにパッケージは以下のものがあるようなイメージで。
package.jsonnamedescriptionversionmainauthorlicense- 辺りが記述されていること
.gitignore- (
.npmignore) LICENSE- テストコード
- CI設定
リポジトリ
一揃いを準備。ついでに Github Actions でバッジを付けておきます。
npm アカウントの作成
続いて npm にアカウントを作成します。

Sign Up。
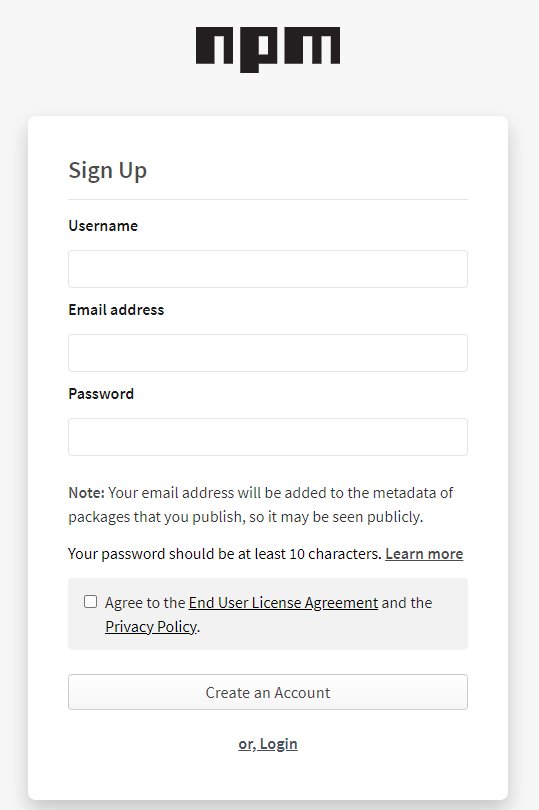
ユーザ名、パスワード、メールアドレスを入力。ちなみにメールアドレスはパッケージのメタ情報に含まれて第三者に公開される可能性がある、との注意書きがあるので念のため専用のメールアカウントを用意しておきます。
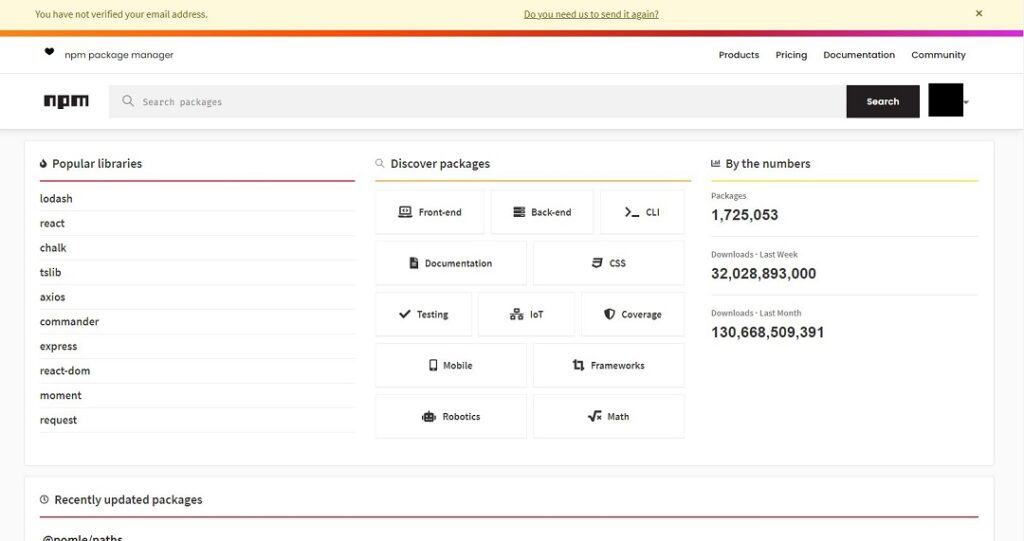
ログインするとメールでの認証を求められるので先ほど入力したメールアドレスに届いている認証のボタンを押しておきます。
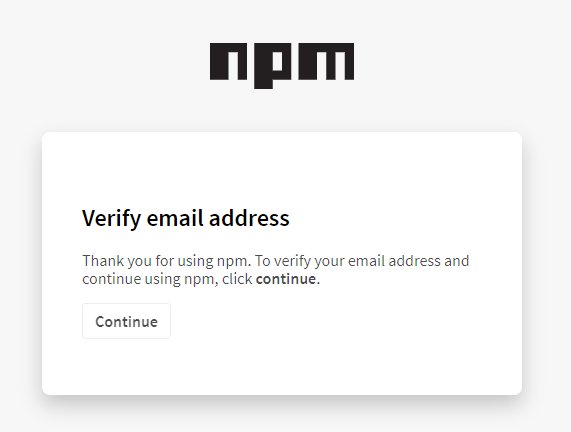
認証完了。
npmパッケージの公開
npmアカウント の作成が完了したらいよいよパッケージの公開作業です。
パッケージのプロジェクトのルートディレクトリでターミナルを開き、 npm login で npm にログインします。
> npm login
npm notice Log in on https://registry.npmjs.org/
Username: YOURNPMUSERNAME
Password:
Email: (this IS public) your-mail-address@example.com
Logged in as YOURNPMUSERNAME on https://registry.npmjs.org/.
OK。次に念のためパッケージとして公開されるファイルを確認しておきます。
> npm pack
npm notice
npm notice 📦  console-cafebabe@0.0.1
npm notice === Tarball Contents ===
npm notice 125B  __tests__/main.test.js
npm notice 401B  .github/workflows/ci.yml
npm notice 1.0kB LICENSE
npm notice 44B   bin/cli.js
npm notice 36B   bin/postinstall.js
npm notice 82B   index.js
npm notice 57B   jest.config.js
npm notice 417B  package.json
npm notice 277B  readme.md
npm notice 6.9kB src/main.js
npm notice === Tarball Details ===
npm notice name:          console-cafebabe
npm notice version:       0.0.1
npm notice filename:      console-cafebabe-0.0.1.tgz
npm notice package size:  6.7 kB
npm notice unpacked size: 9.4 kB
npm notice shasum:        xxxxxxxxxxxxxxxxxxxxxxxxxxxxxxxxxxxxxxxx
npm notice integrity:     sha512-xxxxxxxxxxxxxxxxxxxxxxxxxxxxxxxxx
npm notice total files:   10
npm notice
console-cafebabe-0.0.1.tgz
npm pack するとtgz形式でパッケージの圧縮ファイルが生成されます。 Tarball Contents の中身や実際に展開して中身を確認し、公開したくないファイルが混ざってないか最後のチェックを行います。問題なければ公開へ。
> npm publish
npm notice
npm notice 📦  console-cafebabe@0.0.1
npm notice === Tarball Contents ===
npm notice 125B  __tests__/main.test.js
npm notice 401B  .github/workflows/ci.yml
npm notice 1.0kB LICENSE
npm notice 44B   bin/cli.js
npm notice 36B   bin/postinstall.js
npm notice 82B   index.js
npm notice 57B   jest.config.js
npm notice 417B  package.json
npm notice 277B  readme.md
npm notice 6.9kB src/main.js
npm notice === Tarball Details ===
npm notice name:          console-cafebabe
npm notice version:       0.0.1
npm notice filename:      console-cafebabe-0.0.1.tgz
npm notice package size:  6.7 kB
npm notice unpacked size: 9.4 kB
npm notice shasum:        xxxxxxxxxxxxxxxxxxxxxxxxxxxxxxxxxxxxxxxx
npm notice integrity:     sha512-xxxxxxxxxxxxxxxxxxxxxxxxxxxxxxxxx
npm notice total files:   10
npm notice
+ console-cafebabe@0.0.1
npm publish で公開します。わりとあっという間に終わります。
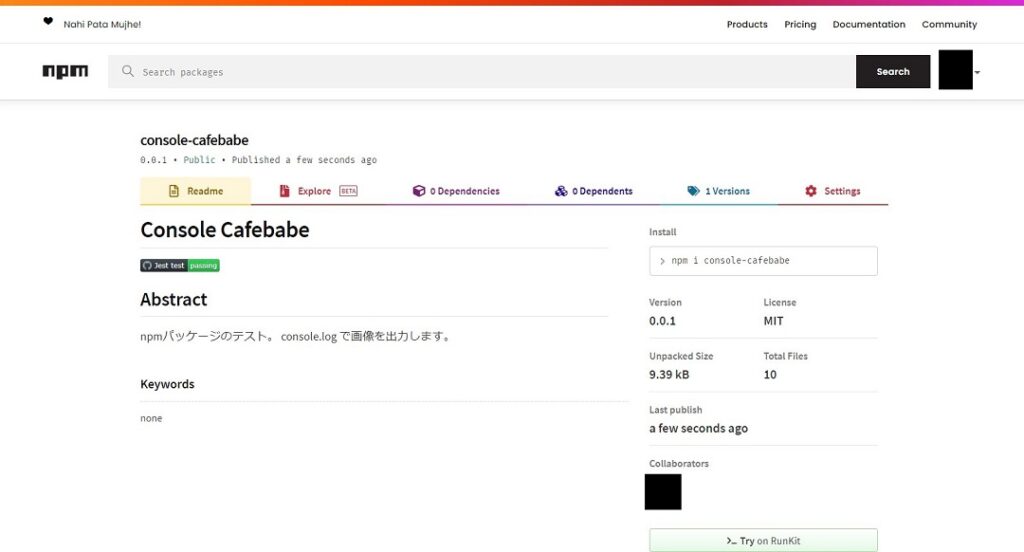
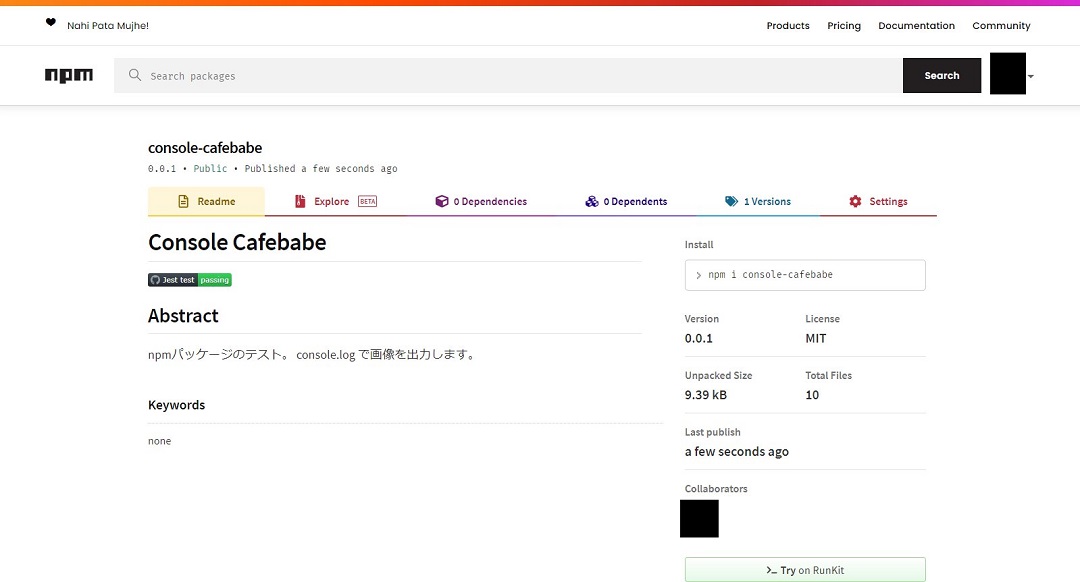
npm 上で検索すると公開したパッケージが見付かります。きちんと公開されていますね!
インストールテスト
今度はインストールしてみましょう。 package.json で以下のように自分のパッケージを dependencies に追加します。
    "dependencies": {
        "console-cafebabe": "0.0.1"
    },
npm i -D または yarn 。

node_modules の中に入ってきましたね。これだけでもちょっと感動。
import consoleCafebabe from 'console-cafebabe';

consoleCafebabe.coffee();
Webpack前提のプロジェクトのエントリポイントのJSに import して、想定通りの使い方としてメソッドを呼び出してみます。
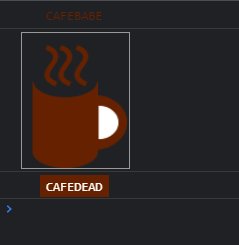
作った通り、 console.log に画像や装飾された文字列が表示されました。成功です。
ログアウト
> npm logout
>
パッケージ公開後は npm logout でターミナル上でもログアウトしておくと事故の確率が減らせそうなのでログアウトしておきます。
これで一通りの流れは押さえることができたと思います。
参考
- 初めてのnpm パッケージ公開 – Qiita
- npmでパッケージを公開してみた手順の記録 – Qiita
- 3分でできるnpmモジュール – Qiita
- 初めての npm パッケージ公開したメモ – かもメモ
- 【初心者向け】NPMとpackage.jsonを概念的に理解する – Qiita
