一応 phpMyAdmin のインストール手順を検証してみます。
目的としては、「管理者を除く、特定のデータベースのみに許可を与えたDBユーザで、そのデータベースのみ GUI 操作できるようにする」ことです。 Webmin では管理者のみでDBユーザで特定のデータベースのみ編集可能に……というのは難しそうなので。
1. FTP (vsftpd)
1.1. ユーザ追加
# useradd afraid
# passwd afraid
ユーザを追加します。
ユーザ制限
# vi /etc/vsftpd/user_list

afraid
FTPユーザとして認識させます。
# vi /etc/vsftpd/user_conf/afraid

local_root=/var/www/myface
ドキュメントルート設定。
# systemctl reload vsftpd
#
OK。
2. 仮想サイト作成
2.1. ディレクトリ作成
# mkdir /var/www/myface
# mkdir /var/www/myface/web
2.2. Webmin で仮想サイト作成
- 仮想ホストの作成
- アドレス:
XXX.XXX.XXX.XXX - ポート:
80 - ドキュメントのルート:
/var/www/myface/web - サーバ名:
myself.example.jp - 仮想サーバの追加: 選択したファイル:
/etc/httpd/conf.d/myface.conf - ディレクティブのコピー元: どこにもない
- アドレス:
ディレクティブ
DocumentRoot "/var/www/myface/web"
ServerName myself.example.jp
<Directory "/var/www/myface/web">
allow from all
AllowOverride All
Options FollowSymLinks
    <RequireAny>
        Require all denied
        Require ip 1.0.16.0/20
        Require ip 1.0.64.0/18

## 略

        Require ip 223.252.64.0/19
        Require ip 223.252.112.0/20
    </RequireAny>
</Directory>

SetEnvIf Request_URI "\.(gif|jpg|png|css|js)$" nolog
ErrorLog logs/phpmyadmin_error_log
CustomLog logs/phpmyadmin_access_log combined env=!nolog
日本からのアクセスのみに絞るようにIPの指定を大量投下。
# systemctl reload httpd
#
OK。
3. Let’s Encrypt
# certbot
Saving debug log to /var/log/letsencrypt/letsencrypt.log
Plugins selected: Authenticator apache, Installer apache
Starting new HTTPS connection (1): acme-v02.api.letsencrypt.org

Which names would you like to activate HTTPS for?
- - - - - - - - - - - - - - - - - - - - - - - - - - - - - - - - - - - - - - - -
1: myself.example.jp
- - - - - - - - - - - - - - - - - - - - - - - - - - - - - - - - - - - - - - - -
Select the appropriate numbers separated by commas and/or spaces, or leave input
blank to select all options shown (Enter 'c' to cancel): 1
Obtaining a new certificate
Performing the following challenges:
http-01 challenge for myself.example.jp
Waiting for verification...
Cleaning up challenges
Created an SSL vhost at /etc/httpd/conf.d/myface-le-ssl.conf
Deploying Certificate to VirtualHost /etc/httpd/conf.d/myface-le-ssl.conf

Please choose whether or not to redirect HTTP traffic to HTTPS, removing HTTP access.
- - - - - - - - - - - - - - - - - - - - - - - - - - - - - - - - - - - - - - - -
1: No redirect - Make no further changes to the webserver configuration.
2: Redirect - Make all requests redirect to secure HTTPS access. Choose this for
new sites, or if you're confident your site works on HTTPS. You can undo this
change by editing your web server's configuration.
- - - - - - - - - - - - - - - - - - - - - - - - - - - - - - - - - - - - - - - -
Select the appropriate number [1-2] then [enter] (press 'c' to cancel): 2
Redirecting vhost in /etc/httpd/conf.d/myface.conf to ssl vhost in /etc/httpd/conf.d/myface-le-ssl.conf

- - - - - - - - - - - - - - - - - - - - - - - - - - - - - - - - - - - - - - - -
Congratulations! You have successfully enabled https://myself.example.jp

You should test your configuration at:
https://www.ssllabs.com/ssltest/analyze.html?d=myself.example.jp
- - - - - - - - - - - - - - - - - - - - - - - - - - - - - - - - - - - - - - - -

IMPORTANT NOTES:
 - Congratulations! Your certificate and chain have been saved at:
   /etc/letsencrypt/live/myself.example.jp/fullchain.pem
   Your key file has been saved at:
   /etc/letsencrypt/live/myself.example.jp/privkey.pem
   Your cert will expire on 2021-01-29. To obtain a new or tweaked
   version of this certificate in the future, simply run certbot again
   with the "certonly" option. To non-interactively renew *all* of
   your certificates, run "certbot renew"
 - If you like Certbot, please consider supporting our work by:

   Donating to ISRG / Let's Encrypt:   https://letsencrypt.org/donate
   Donating to EFF:                    https://eff.org/donate-le
OK。
4. phpMyAdmin
4.1. インストール
# openssl rand -hex 16
XXXXXXXXXXXXXXXXXXXXXXXXXXXXXXXX
ランダムな文字列を生成。
# mkdir /var/www/myface/web/XXXXXXXXXXXXXXXXXXXXXXXXXXXXXXXX/生成した文字列のディレクトリを作成。
phpMyAdminからダウンロードした最新版の phpMyAdmin をアップロード。
# usermod -aG wheel,apache afraid
# chown -R apache:apache /var/www/myface/web
# find /var/www/myface/web/ -type f -exec chmod 664 {} \;
# find /var/www/myface/web/ -type d -exec chmod 775 {} \;
所有者・権限変更。
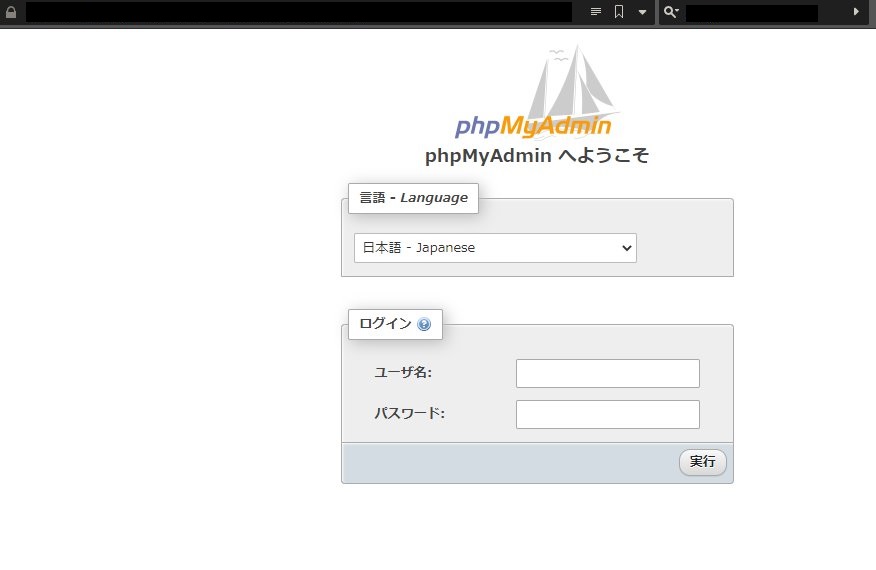
これで https://myself.example.jp/XXXXXXXXXXXXXXXXXXXXXXXXXXXXXXXX/ にアクセスしてログイン。
4.ex. ログインエラー対処
root でログインしようとしたら以下のエラーで怒られたので対処。
mysqli::real_connect(): The server requested authentication method unknown to the client [caching_sha2_password]
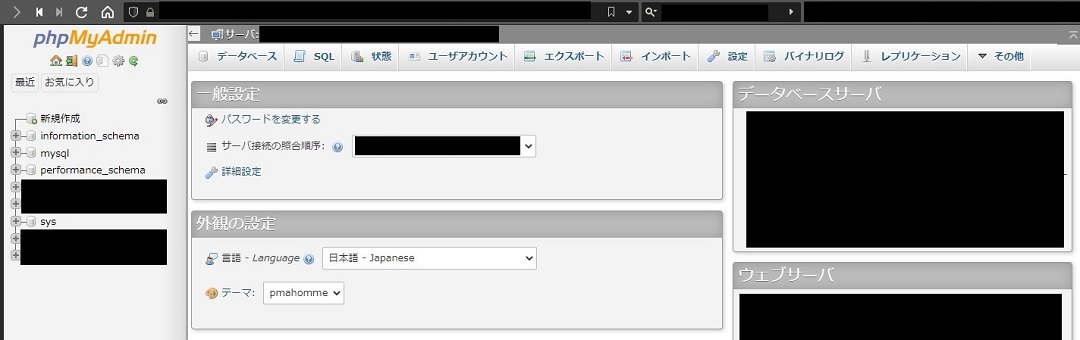
ログインできました。
4.2. 設定ファイルに、暗号化 (blowfish_secret) 用の非公開パスフレーズの設定を必要とするようになりました。
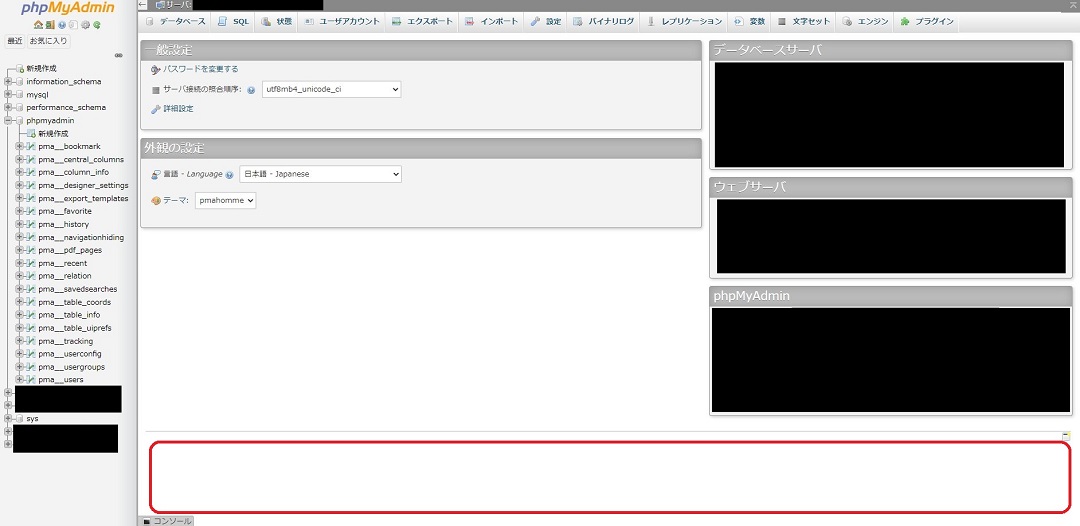
ダッシュボード下部に以下のエラーが出ているので対処します。
設定ファイルに、暗号化 (blowfish_secret) 用の非公開パスフレーズの設定を必要とするようになりました。
ダウンロードした phpMyAdmin の中の config.sample.inc.php をコピーして config.inc.php にリネーム。
<?php

// 略

/**
 * This is needed for cookie based authentication to encrypt password in
 * cookie. Needs to be 32 chars long.
 */
$cfg['blowfish_secret'] = ''; /* YOU MUST FILL IN THIS FOR COOKIE AUTH! */

// 略
この $cfg['blowfish_secret'] の値を変更します。この値はここでしか使わないものですが、32文字以上に設定する必要があるとのこと。
# openssl rand -hex 32
ZZZZZZZZZZZZZZZZZZZZZZZZZZZZZZZZZZZZZZZZZZZZZZZZZZZZZZZZZZZZZZZZ
面倒なので生成します。
<?php

// 略

/**
 * This is needed for cookie based authentication to encrypt password in
 * cookie. Needs to be 32 chars long.
 */
$cfg['blowfish_secret'] = 'ZZZZZZZZZZZZZZZZZZZZZZZZZZZZZZZZZZZZZZZZZZZZZZZZZZZZZZZZZZZZZZZZ'; /* YOU MUST FILL IN THIS FOR COOKIE AUTH! */

// 略
生成した値を使用します。
この config.inc.php を phpMyAdmin をインストールしたルートディレクトリにアップロードして、エラーが出なくなったことを確認。
4.3. phpMyAdmin 環境保管領域が完全に設定されていないため、いくつかの拡張機能が無効になっています。理由についてはこちらをご覧ください。
次は以下の警告への対処です。
phpMyAdmin 環境保管領域が完全に設定されていないため、いくつかの拡張機能が無効になっています。理由についてはこちらをご覧ください。
代わりにデータベースの操作タブを使って設定することもできます。
対処法は以下の通り。
sql/create_tables.sqlを実行config.inc.phpを編集してアップロード
1. sql/create_tables.sql を実行
ダウンロードした phpMyAdmin のディレクトリの中の sql ディレクトリの中にある create_tables.sql を phpMyAdmin の「インポート」画面で実行します。
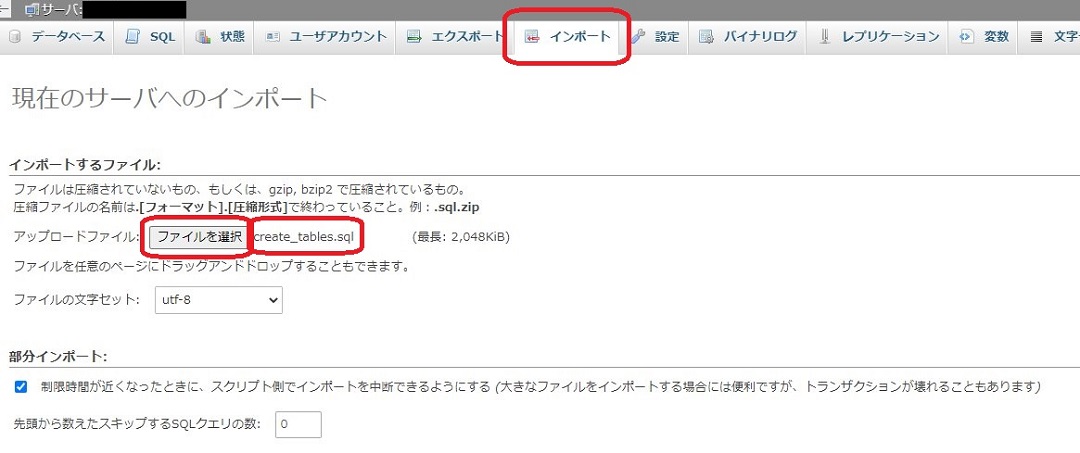
ファイルを選択で該当ファイルを選んで、画面下部に移動して「実行」ボタンをクリック。
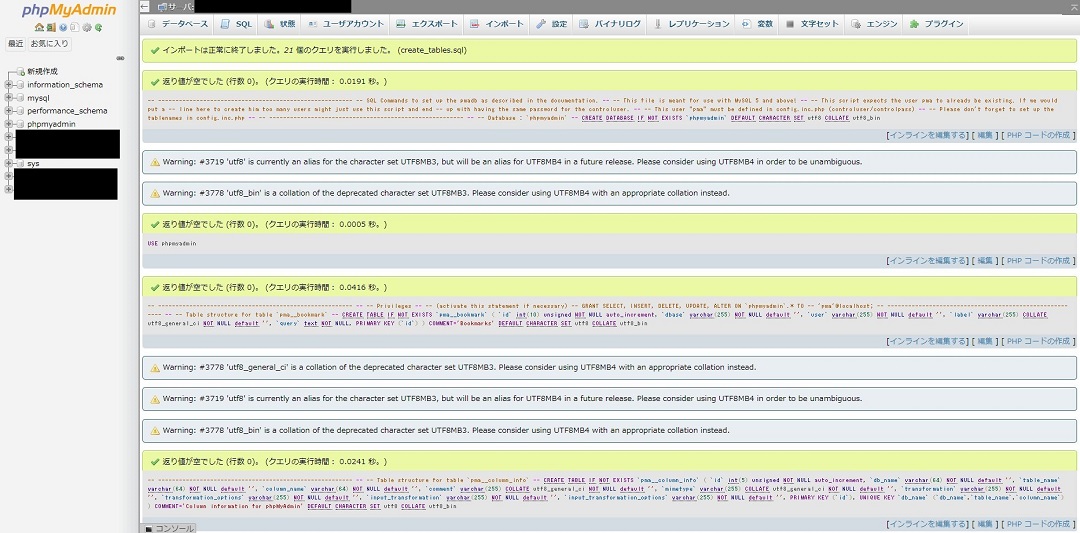
実行結果。
2. config.inc.php を編集してアップロード
次に config.inc.php を編集してアップロードします。
<?php

// 略

/* Storage database and tables */
// $cfg['Servers'][$i]['pmadb'] = 'phpmyadmin';
// $cfg['Servers'][$i]['bookmarktable'] = 'pma__bookmark';
// $cfg['Servers'][$i]['relation'] = 'pma__relation';
// $cfg['Servers'][$i]['table_info'] = 'pma__table_info';
// $cfg['Servers'][$i]['table_coords'] = 'pma__table_coords';
// $cfg['Servers'][$i]['pdf_pages'] = 'pma__pdf_pages';
// $cfg['Servers'][$i]['column_info'] = 'pma__column_info';
// $cfg['Servers'][$i]['history'] = 'pma__history';
// $cfg['Servers'][$i]['table_uiprefs'] = 'pma__table_uiprefs';
// $cfg['Servers'][$i]['tracking'] = 'pma__tracking';
// $cfg['Servers'][$i]['userconfig'] = 'pma__userconfig';
// $cfg['Servers'][$i]['recent'] = 'pma__recent';
// $cfg['Servers'][$i]['favorite'] = 'pma__favorite';
// $cfg['Servers'][$i]['users'] = 'pma__users';
// $cfg['Servers'][$i]['usergroups'] = 'pma__usergroups';
// $cfg['Servers'][$i]['navigationhiding'] = 'pma__navigationhiding';
// $cfg['Servers'][$i]['savedsearches'] = 'pma__savedsearches';
// $cfg['Servers'][$i]['central_columns'] = 'pma__central_columns';
// $cfg['Servers'][$i]['designer_settings'] = 'pma__designer_settings';
// $cfg['Servers'][$i]['export_templates'] = 'pma__export_templates';

// 略
上述の /* Storage database and tables */ で始まる部分のパラメータ一覧のコメントを外します。
<?php

// 略

/* Storage database and tables */
$cfg['Servers'][$i]['pmadb'] = 'phpmyadmin';
$cfg['Servers'][$i]['bookmarktable'] = 'pma__bookmark';
$cfg['Servers'][$i]['relation'] = 'pma__relation';
$cfg['Servers'][$i]['table_info'] = 'pma__table_info';
$cfg['Servers'][$i]['table_coords'] = 'pma__table_coords';
$cfg['Servers'][$i]['pdf_pages'] = 'pma__pdf_pages';
$cfg['Servers'][$i]['column_info'] = 'pma__column_info';
$cfg['Servers'][$i]['history'] = 'pma__history';
$cfg['Servers'][$i]['table_uiprefs'] = 'pma__table_uiprefs';
$cfg['Servers'][$i]['tracking'] = 'pma__tracking';
$cfg['Servers'][$i]['userconfig'] = 'pma__userconfig';
$cfg['Servers'][$i]['recent'] = 'pma__recent';
$cfg['Servers'][$i]['favorite'] = 'pma__favorite';
$cfg['Servers'][$i]['users'] = 'pma__users';
$cfg['Servers'][$i]['usergroups'] = 'pma__usergroups';
$cfg['Servers'][$i]['navigationhiding'] = 'pma__navigationhiding';
$cfg['Servers'][$i]['savedsearches'] = 'pma__savedsearches';
$cfg['Servers'][$i]['central_columns'] = 'pma__central_columns';
$cfg['Servers'][$i]['designer_settings'] = 'pma__designer_settings';
$cfg['Servers'][$i]['export_templates'] = 'pma__export_templates';

// 略
編集後はこのような形に。
これで phpMyAdmin のルートディレクトリにアップロード。
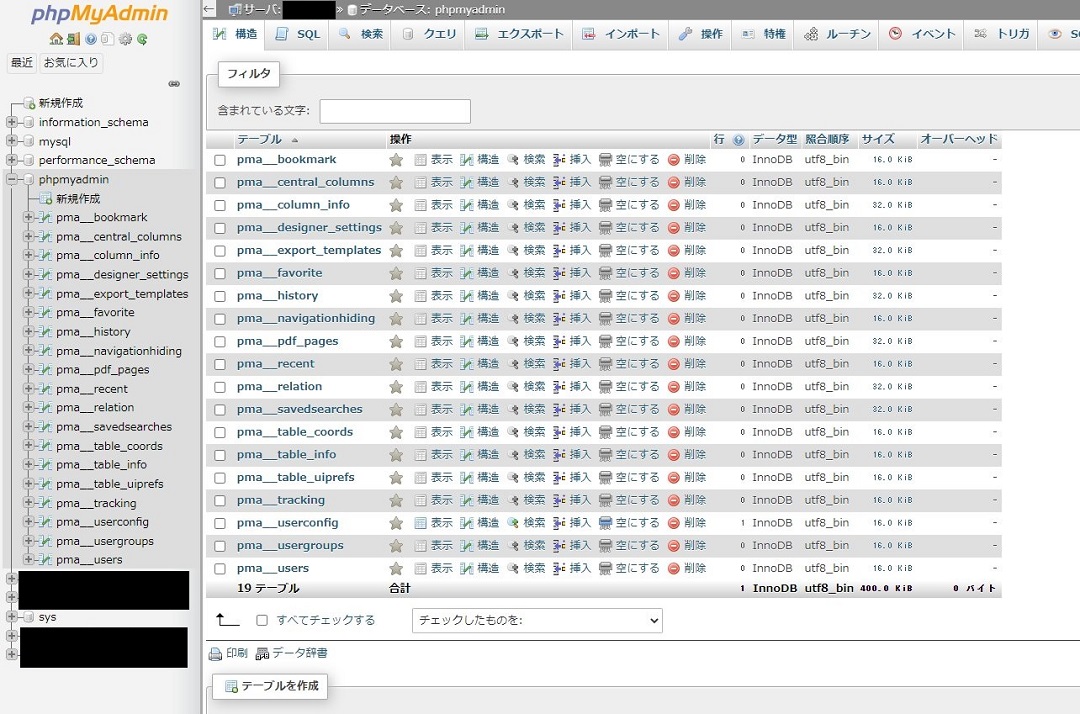
ダッシュボード画面から通知が消えました。OKです。
4.4. information_schema などのテーブルを非表示にしたい
特定データベースのみ権限を与えたユーザで phpMyAdmin にログインすると、該当データベース以外に information_schema も見えてしまっていたのでこれを非表示にします。
方法としては、 config.inc.php の末尾に以下の一行を追記してアップロードすればOK。
<?php

// 略

$cfg['Servers'][$i]['hide_db'] = "(^information_schema$|^performance_schema$|^test$)"; // 追加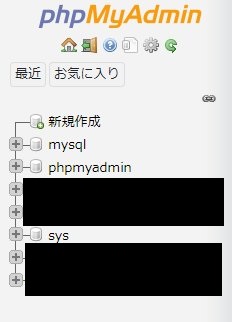
試しに root でログインすると information_schema, performance_schema が消えています。OKです。
4.5. root を無効化したい
続いては root の無効化。
上に同じく config.inc.php の末尾に以下の一行を追記してアップロードすればOK。
<?php

// 略

$cfg['Servers'][$i]['AllowRoot'] = false; // 追加
$cfg['Servers'][$i]['hide_db'] = "(^information_schema$|^performance_schema$|^test$)";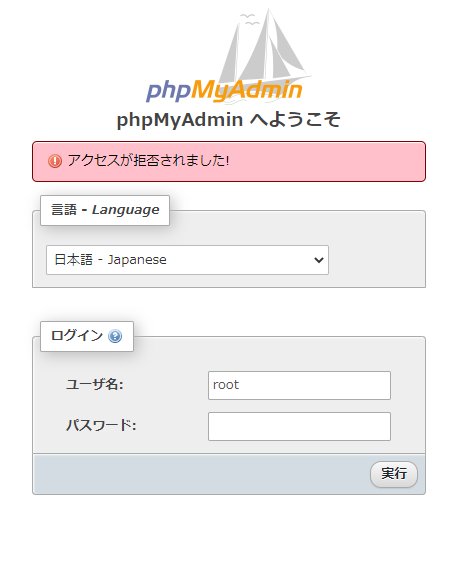
OK、怒られるようになりました。
4.6. BASIC認証 をかける
念には念を、です。
.htpasswd を作成します。
# vi /PATH/TO/HTPASSWD/.htpasswd

IDIOGLOSSIA:XXXXXXXXXXXXXXXX
設置。
# chown root:root /PATH/TO/HTPASSWD/.htpasswd
# chmod 755 /PATH/TO/HTPASSWD/.htpasswd
権限・所有者を変更。
AuthUserFile /PATH/TO/HTPASSWD/.htpasswd
AuthGroupFile /dev/null
AuthName "Please enter your ID and password"
AuthType Basic
require valid-user
<Files ~ "^.(htpasswd|htaccess)$">
    deny from all
</Files>
続いて .htaccess 。
これを phpMyAdmin のルートディレクトリにアップロード。
# chown root:root /var/www/myface/web/XXXXXXXXXXXXXXXXXXXXXXXXXXXXXXXX/.htaccess
# chmod 755 /var/www/myface/web/XXXXXXXXXXXXXXXXXXXXXXXXXXXXXXXX/.htaccess
こちらも権限・所有者を変更。
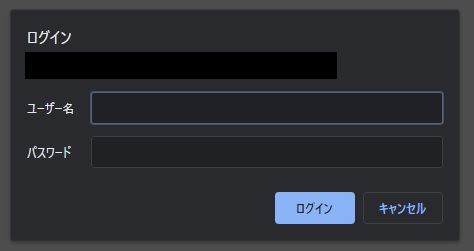
OK、 BASIC認証 が出てくるようになりました。
4.7. 動作確認
ようやく動作確認。 root ではない該当ユーザで BASIC認証 と phpMyAdmin の認証を通ると

特定データベースしか編集できない画面ができました。

テーブル作成できました。
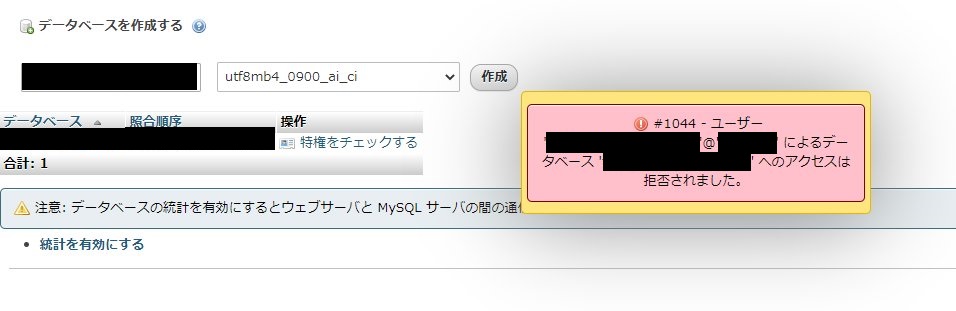
一方、ナビゲーションツリーに「新規作成」ボタンがあるのが気になったのですが、データベースを新規で作成しようとするときちんと怒られました。大丈夫ですね。
さて、割と長かったですが想定していた phpMyAdmin の検証を実施することができました。
参考
Apache 2.4系 で IPアドレス制限
- Apache 2.4 系で IP アドレスなどのアクセスブロックをする方法 – Qiita
- Apache 2.4系でIP制限の設定方法 | ex1-lab
- Apache2.4のアクセス制限の書き方メモ(Requireディレクティブ)
IPアドレスの一覧
phpMyAdmin
- phpMyAdmin
- Welcome to phpMyAdmin’s documentation! ? phpMyAdmin 5.1.0-dev ドキュメント
- phpMyAdminの設定変更手順 – phpMyAdminの使い方
- phpMyAdmin のインストールとセキュリティ設定メモ | あぱーブログ
- phpMyAdminでMySQL/MariaDBを管理する | GRAYCODE PHPプログラミング